How to Declutter Your Pantry
Tips from the Organizing Experts
Decluttering your pantry can be a bit overwhelming because it often becomes dense with expired foods, small appliances, abandoned culinary experiments, random storage containers, and the like. This can be frustrating and leads to rebuying things you already own or stifling creativity in the kitchen because you don’t know what you have. Plus an organized pantry makes life so much easier for everyone!
An organized pantry is a thing of beauty but you can’t get there unless you declutter first. We have a lot of clients who come to us wanting an Instagram worthy pantry and our first step is always the decluttering process. It’s not the most fun part but you can’t get to the pretty part without putting in some work up front!
How to Declutter Your Pantry
Here is how to declutter your pantry step by step.
First: Set the stage!
- clear your counters and bring in folding tables if you have them or lay blankets or tarps on the floor so you have places to put everything
- grab some trash bags for actual trash and either cardboard boxes or bags (I like the Trader Joes paper bags) for donations
- have Post It notes (we use these super sticky versions on the job) and a Sharpie on hand to label categories
- block out a few hours on your schedule and I like to put on some fun music to keep the energy going!
Second: Pull everything out and empty the space.
This can be overwhelming at first but it’s critical. This is also the ideal time to wash down the shelves and wipe down the walls! You really need to empty the space in full rather than trying to work within it – trust us on this.
How to Declutter Your Pantry
Third: Group like with like!
- start with the more general groupings such as canned goods, baking, breakfast, small appliances, or paper products
- then sort into narrower categories like canned beans or vegetables, cereal, flour, etc.
- you can get even more granular such as varieties of beans, types of flour, and sizes of chocolate chips if you want - this can actually be really helpful when determining items that need to be replaced or replenished
How to Declutter Your Pantry
Fourth: Edit! It's best to start with a clean slate...
Pro Tip: figure out what your limit is with expiration dates! Spices expire more easily than canned goods but knowing that cutoff date helps with the editing process.
- toss perishable foods that have been opened
- donate non-perishable items (like canned goods or boxed rice mixes) that are no more than a year past date (most food pantries will accept unopened expired items if they are past best by date no more than a year)
- donate items that are just not going to get used like the ramen your kid said they'd eat and then decided they didn't like
- toss spices older than a year - they are just not going to give the flavor you need
- empty canisters if they haven't been touched in a year or so - odds are good the contents are not usable anymore
- relocate items that don't belong here
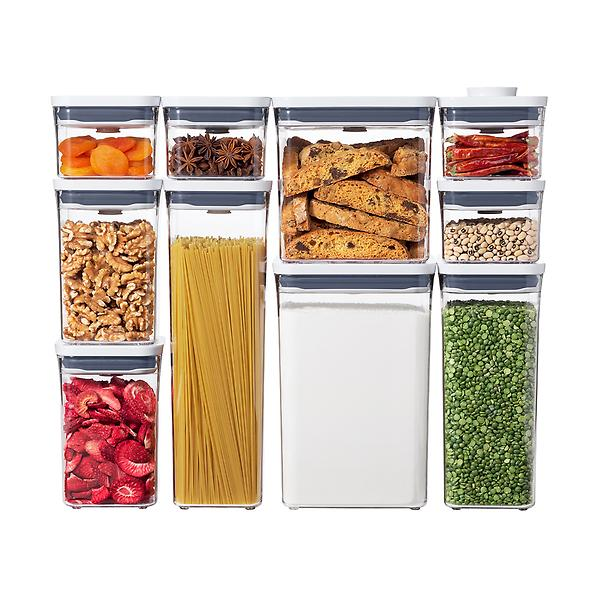
- set aside groups of items to decant like baking or grains
- weed through the piles of napkins & plastic cups and toss the crumpled and dusty
- donate small appliances that aren't useful, are duplicates, or don't work
Pro Tip: keep a list going as you are editing so you can restock.
How to Declutter Your Pantry
(check out our full post on pantry organizing HERE!)
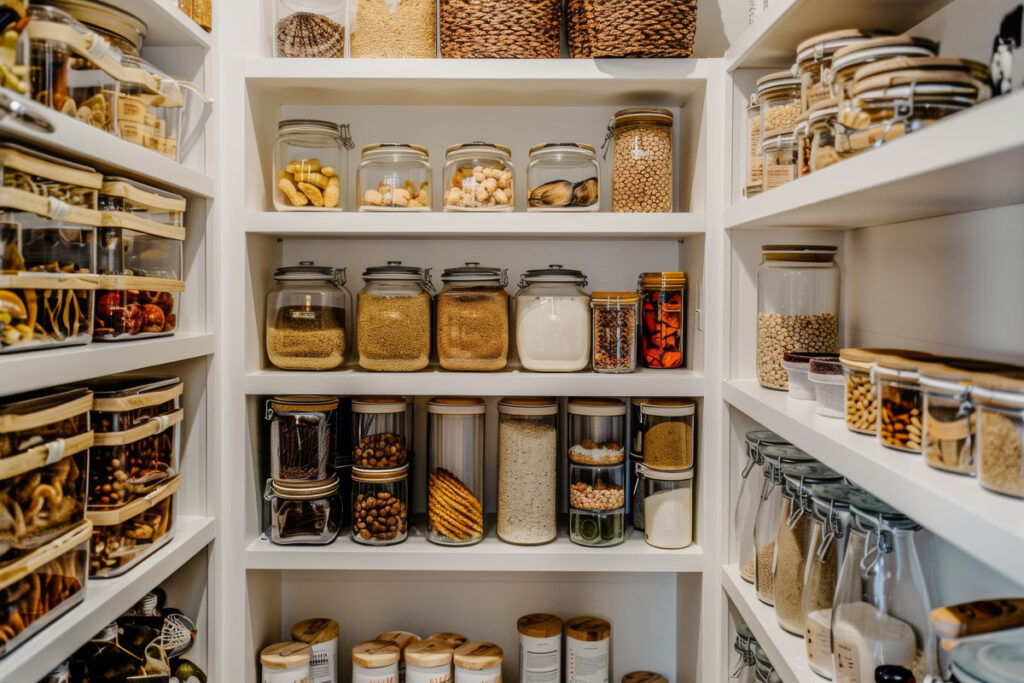
- create zones in your pantry for logical categories such as baking, meal prep, etc.
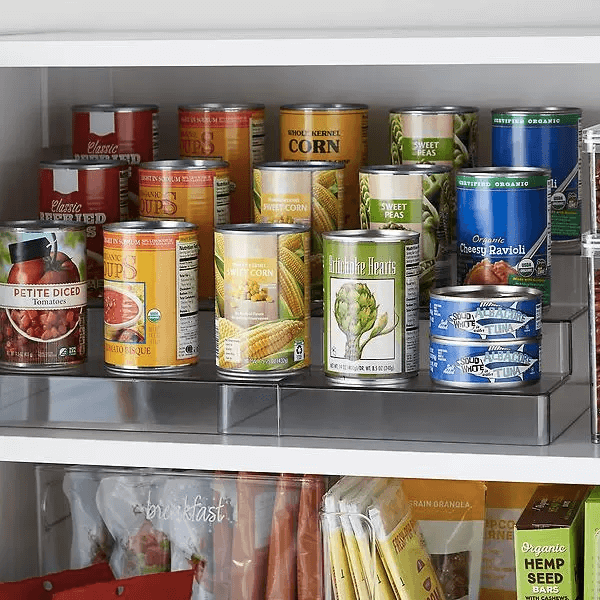
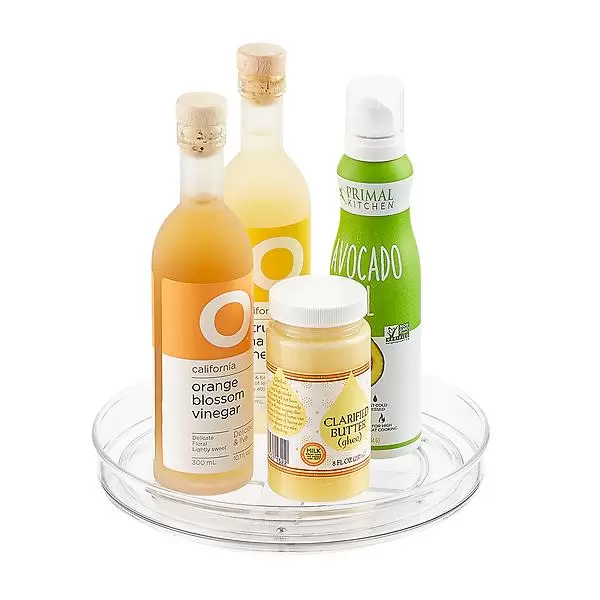
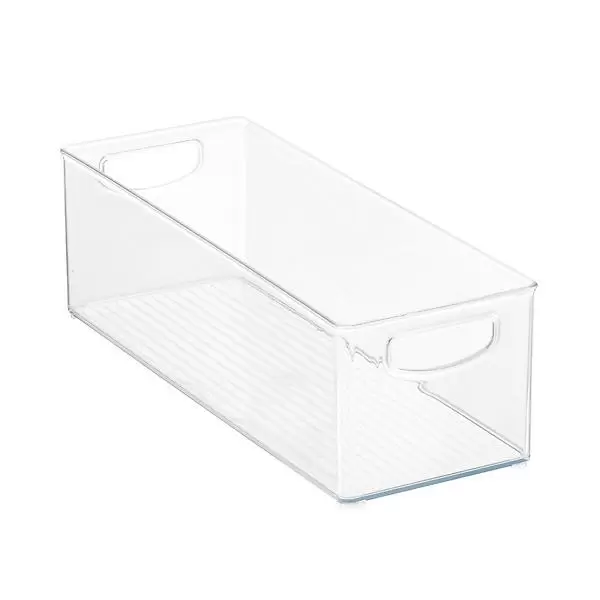
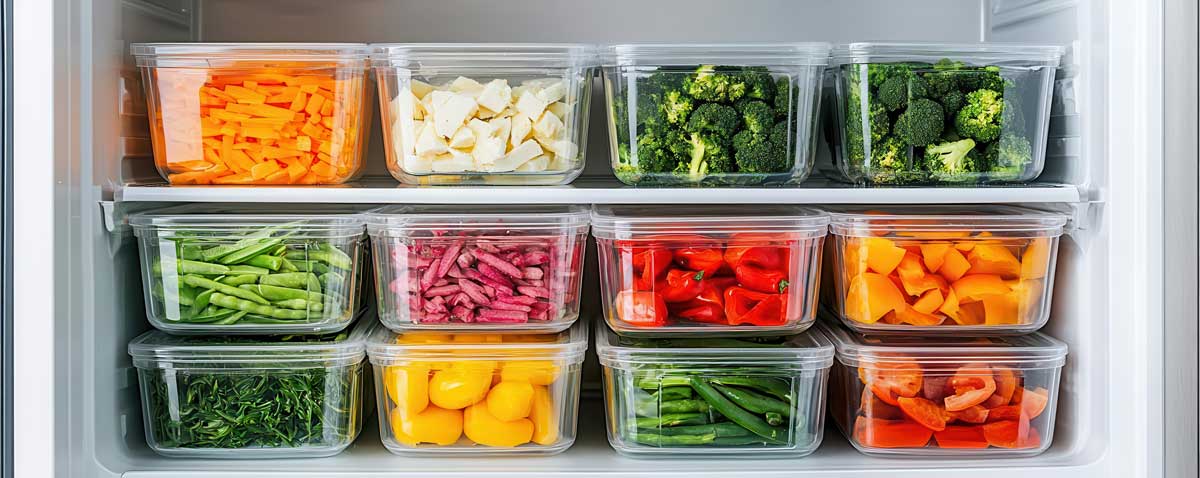
- use bins/baskets/canisters/risers to contain and corral groups of like items - and don't forget to label everything!
- keep items at easy access level for the people who need to get to them like a snack zone down low for littles
- use the upper shelves for infrequently used items such as entertaining, specialty small appliances, and the like

