How to Organize Lunches Like a Pro
Are you frustrated with the scrambling in the morning trying to put together a healthy lunch? Get organized for back to school with an organized plan for school lunches! Here are some tips to help you make a plan to change that this year!
Kitchens vary in size and storage but generally I recommend 3 zones in the kitchen for lunch prep (& snacks): in your pantry, a cabinet or drawer, and the refrigerator. If your pantry is large enough, the cabinet or drawer zone would ideally be located there so everything is together.
Pantry & Refrigerator:
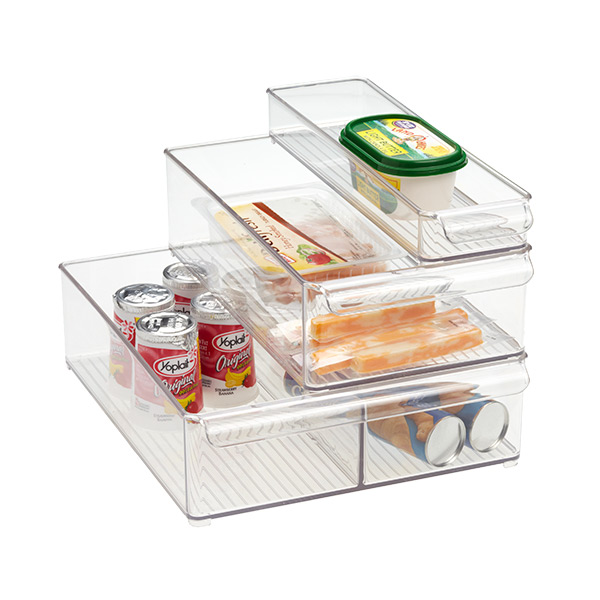
- Designated bins for pre-packaged lunch items such as applesauce pouches, containers of fruit, cheese sticks, etc.
- Clearly label each bin
- Add a small bin to the freezer to hold freezer packs
Cabinet or drawer (preferably near the prep area in the kitchen):
- Lunch bags/boxes
- Re-usable storage containers or Ziploc bags
- Water bottles and thermoses
Tip: Pre-packaged doesn’t necessarily mean they come that way from the store. Create your own packages from bulk items using storage containers.
Plan out lunches and snacks. Most kids aren’t overly concerned if they eat the same thing each day, but this works even if they are. You don’t have to have a set menu, but knowing what they like and don’t like is key. Engage them in the planning process and find out what items work best for lunches.
Once you have a list of what is preferred (balanced with what you want them to eat!), use that as a guide.
Create a playlist of what goes in the lunchbox. Mine looked like this:
- Sandwich (almond butter & jelly or ham & cheese)
- Fruit or vegetable (grapes, clementine orange, carrots, edamame)
- Yogurt or cheese stick
- Water
- Freezer pack
I simply rotate through the list throughout the week.
Tip: Don’t get all Pinterest with the lunches. It’s tempting to be creative and cutesy but most parents I know just need to get the kids out the door. Keep it simple, and add a sweet note if you feel the urge to do something special.
Prep one day a week. I do my prep on Sunday evenings because it’s a good time to gear up for the week and we don’t have homework or other activities.
Knowing the contents of the lunch will be key in shopping and prep.
Prep looks like this:
- Create a shopping list (or add to your regular shopping list) of weekly lunch items
- Purchase items and separate them from regular groceries
- Create servings of fruits/veggies/etc. in bags or storage containers
- Stock your designated bins with a weeks worth of lunch contents
My bins have individual containers of ‘kid approved’ fruits & veggies plus cheese sticks and yogurt. I have a separate bin that holds sandwich ingredients.
The night before, set out lunch bags and make anything that can be made ahead of time. I generally fill the water bottle and add anything that doesn’t need to be refrigerated.
In the morning, make the sandwich if needed, grab the rest of the contents from your bins, place everything in the lunch bag, add a freezer pack and you are done!
Tip: If the kids are old enough, have them help with prep and/or make sandwiches in the morning!
Before you know it, making lunches will be a breeze. Getting organized with the lunch boxes may be one of the best time and stress saving moves you make this year!
[vc_separator type=’transparent’ position=’center’ color=” thickness=’1′ up=’60’ down=’40’]


